
Introduction:
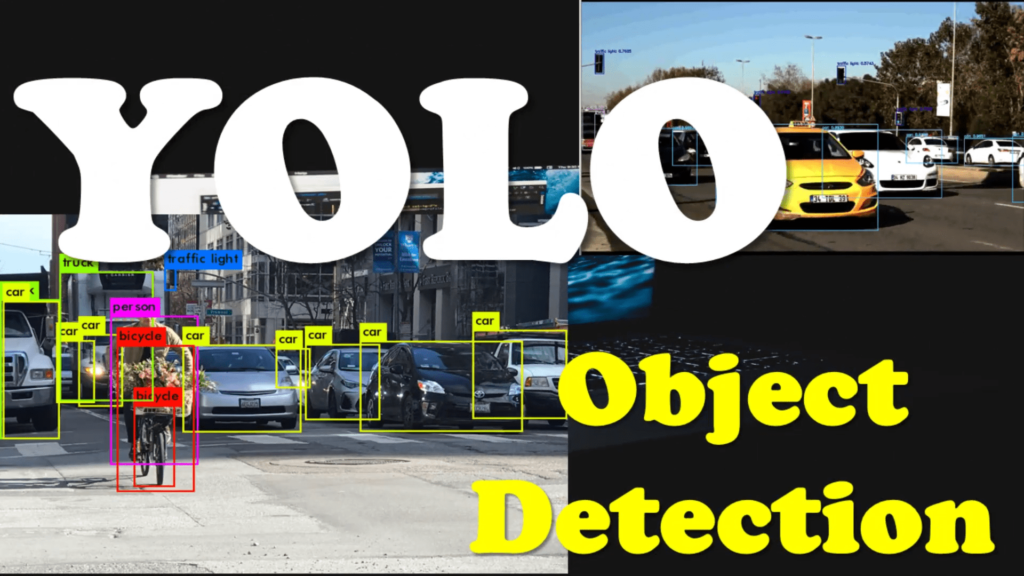
Object detection is a fundamental task in computer vision, and YOLO (You Only Look Once) is a popular real-time object detection algorithm. In this blog, we will explore how to perform object detection using YOLOv3 in C# with the Emgu.CV library. We will build a simple application that can detect objects in real-time using a webcam.
Prerequisites:
To follow along with this tutorial, make sure you have the following prerequisites:
- Visual Studio or any C# development environment installed.
- Emgu.CV library installed.
- Darknet YOLOv3 configuration file (.cfg) and pre-trained weights file (.weights).
- COCO dataset class labels file (coco.names).
- Webcam or a video source to capture frames.
Step 1: Setting Up the Project First, create a new C# project in your preferred development environment. Make sure you have the Emgu.CV library referenced in your project.
Step 2: Loading YOLOv3 Model and Class Labels In the provided code, we start by loading the YOLOv3 model and the corresponding class labels from the files. Adjust the paths to the configuration file (“yolov3.cfg”), weights file (“yolov3.weights”), and class labels file (“coco.names”) based on your local file system.
Step 3: Setting Backend and Target for DNN Next, we set the preferable backend and target for the DNN (Deep Neural Network) module. In this case, we choose the OpenCV backend and CPU as the target device. However, you can modify these settings based on your hardware capabilities and requirements.
Step 4: Initializing VideoCapture and Frame Processing We create a VideoCapture object to access the webcam or video source. The code inside the while loop continuously captures frames and processes them for object detection.
Step 5: Preprocessing and Forward Pass For each captured frame, we resize it and convert it to the required format for the YOLOv3 model. The frame is then passed through the network for a forward pass, and the output is obtained.
Step 6: Object Detection and Visualization The output from the network is processed to extract the bounding boxes, class indices, and confidence scores for detected objects. We filter out detections with confidence below a certain threshold (0.8 in this case). Non-maximum suppression (NMS) is applied to remove overlapping bounding boxes.
Finally, we draw the bounding boxes and class labels on the frame. The resulting frame is then resized and displayed using the OpenCV imshow function.
Step 7: Exiting the Application The application continues to capture frames and perform object detection until the user presses the ‘Esc’ key. This is achieved by checking for a keyboard event using the CvInvoke.WaitKey function.
Object detection from Webcam
using Emgu.CV;
using Emgu.CV.Dnn;
using Emgu.CV.Structure;
using Emgu.CV.Util;
class Program
{
static void Main(string[] args)
{
// Step 2: Loading YOLOv3 Model and Class Labels
var net = DnnInvoke.ReadNetFromDarknet(“F:\OpenCVTutorials-masters\OpenCVTutorials-master\detection\yolov3.cfg”, “F:\OpenCVTutorials-masters\OpenCVTutorials-master\detection\yolov3.weights”);
var classLabels = File.ReadAllLines(“F:\OpenCVTutorials-masters\OpenCVTutorials-master\detection\coco.names”);
// Step 3: Setting Backend and Target for DNN
net.SetPreferableBackend(Emgu.CV.Dnn.Backend.OpenCV);
net.SetPreferableTarget(Emgu.CV.Dnn.Target.Cpu);
// Step 4: Initializing VideoCapture and Frame Processing
var vc = new VideoCapture(0, VideoCapture.API.DShow);
Mat frame = new();
VectorOfMat output = new();
VectorOfRect boxes = new();
VectorOfFloat scores = new();
VectorOfInt indices = new();
while (true)
{
vc.Read(frame);
CvInvoke.Resize(frame, frame, new System.Drawing.Size(0, 0), .4, .4);
boxes = new();
indices = new();
scores = new();
var image = frame.ToImage<Bgr, byte>();
// Step 5: Preprocessing and Forward Pass
var input = DnnInvoke.BlobFromImage(image, 1 / 255.0, swapRB: true);
net.SetInput(input);
net.Forward(output, net.UnconnectedOutLayersNames);
for (int i = 0; i < output.Size; i++)
{
var mat = output[i];
var data = (float[,])mat.GetData();
for (int j = 0; j < data.GetLength(0); j++)
{
float[] row = Enumerable.Range(0, data.GetLength(1))
.Select(x => data[j, x])
.ToArray();
var rowScore = row.Skip(5).ToArray();
var classId = rowScore.ToList().IndexOf(rowScore.Max());
var confidence = rowScore[classId];
if (confidence > 0.8f)
{
var centerX = (int)(row[0] * frame.Width);
var centerY = (int)(row[1] * frame.Height);
var boxWidth = (int)(row[2] * frame.Width);
var boxHeight = (int)(row[3] * frame.Height);
var x = (int)(centerX – (boxWidth / 2));
var y = (int)(centerY – (boxHeight / 2));
boxes.Push(new System.Drawing.Rectangle[] { new System.Drawing.Rectangle(x, y, boxWidth, boxHeight) });
indices.Push(new int[] { classId });
scores.Push(new float[] { confidence });
}
}
}
// Step 6: Object Detection and Visualization
var bestIndex = DnnInvoke.NMSBoxes(boxes.ToArray(), scores.ToArray(), .8f, .8f);
var frameOut = frame.ToImage<Bgr, byte>();
for (int i = 0; i < bestIndex.Length; i++)
{
int index = bestIndex[i];
var box = boxes[index];
CvInvoke.Rectangle(frameOut, box, new MCvScalar(0, 255, 0), 2);
CvInvoke.PutText(frameOut, classLabels[indices[index]], new System.Drawing.Point(box.X, box.Y – 20),
Emgu.CV.CvEnum.FontFace.HersheyPlain, 1.0, new MCvScalar(0, 0, 255), 2);
}
CvInvoke.Resize(frameOut, frameOut, new System.Drawing.Size(0, 0), 4, 4);
CvInvoke.Imshow(“output”, frameOut);
// Step 7: Exiting the Application
if (CvInvoke.WaitKey(1) == 27)
break;
}
}
}
Conclusion: In this blog post, we learned how to perform real-time object detection using YOLOv3 in C# with the Emgu.CV library. We explored the code that loads the YOLOv3 model, captures frames from a video source, and performs object detection using the model’s output. The detected objects are then visualized by drawing bounding boxes and class labels on the frames.