
What it is and How to Use it?
Introduction:
It’s a great tool for developers who want to create dynamic HTML pages with minimal coding. In this blog post, we’ll take a look at what razor syntax is, how it works, and how you can use it in your own projects.
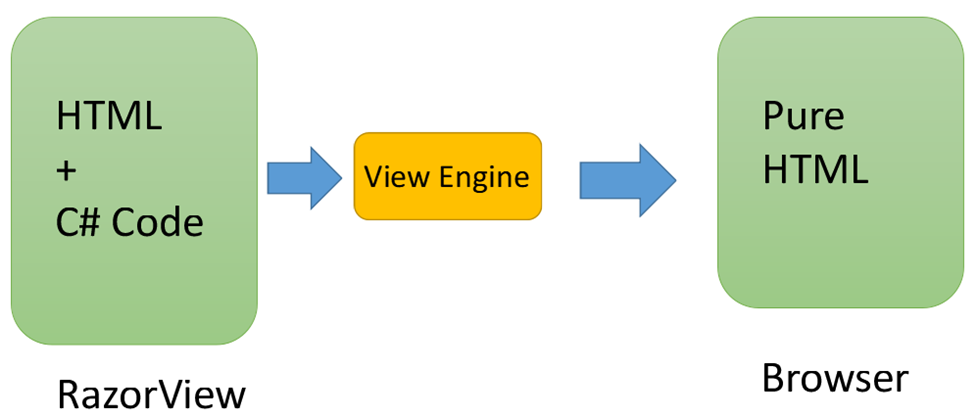
Razor syntax is essentially a shorthand way of writing code. It allows developers to write HTML and C# code together in the same page without having to switch between different languages. This helps simplify the development process and makes coding more efficient. Razor syntax was first introduced in 2011 with the release of ASP.NET MVC 3. Since then, it has become one of the most popular templating engines for Web development.
Razor syntax uses the “@” symbol to denote code blocks within an HTML page. For example, if you wanted to display an image on your website using razor syntax, you would write something like this: @<img src=”image-url” /> This tells the server to display an image with the specified URL on the page when it renders it as HTML.
In addition to displaying content from variables and other sources, razor syntax can also be used for more complex tasks such as looping through data collections or making decisions based on conditions (if/else statements). This makes it possible for developers to create highly dynamic pages that can adapt easily depending on user input or other external factors.
How Can You Use Razor Syntax?
If you’re looking to get started with razor syntax, you’ll need a few things first—namely a web framework like ASP.NET MVC or ASP.NET Core and some knowledge of programming languages like C# or Visual Basic .NET (VB .NET). Once you have those two things taken care of, you can start writing your own razor syntax code.
Razor syntax is a powerful templating engine that enables developers to quickly create dynamic HTML pages with minimal coding effort required. It’s simple yet powerful design makes it ideal for projects of all sizes from small personal websites all the way up to large corporate applications – so no matter what type of project you’re working on, it’s worth considering giving razor syntax a try. With just some basic programming knowledge and experience under your belt, you’ll be able to write razor code confidently in no time at all!
Important points about Razor:
Intellisense: Razor syntax supports statement completion within visual studio.
Easy to Differentiate: Easily you differentiate server side code from html code.
Compact: Razor syntax is compact, enabling you to minimize the number of characters and keystrokes required to write code.
Creating a View Using Razor:
Let’s create a new ASP.Net MVC project.
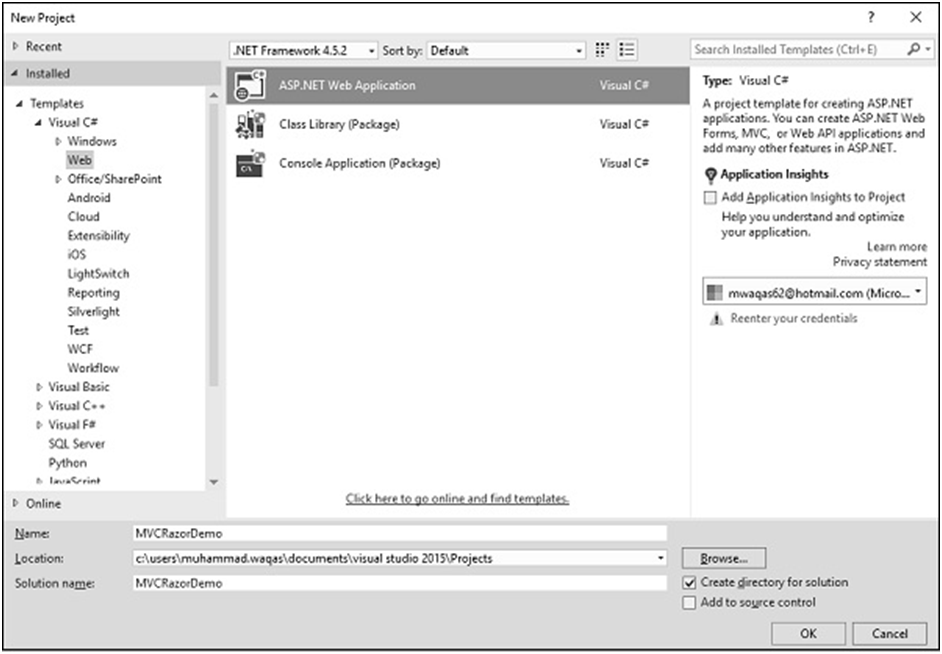
Enter the name of project in the name field and click Ok.

Select the MVC 5 Controller – Empty option and click Add button and then the Add Controller dialog will appear.
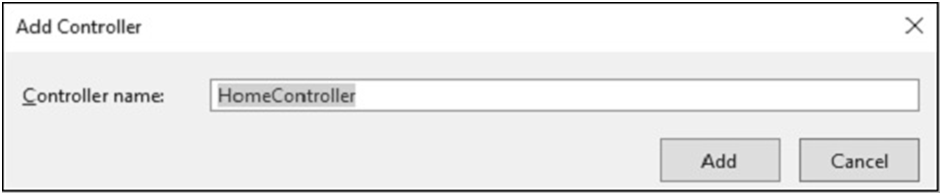
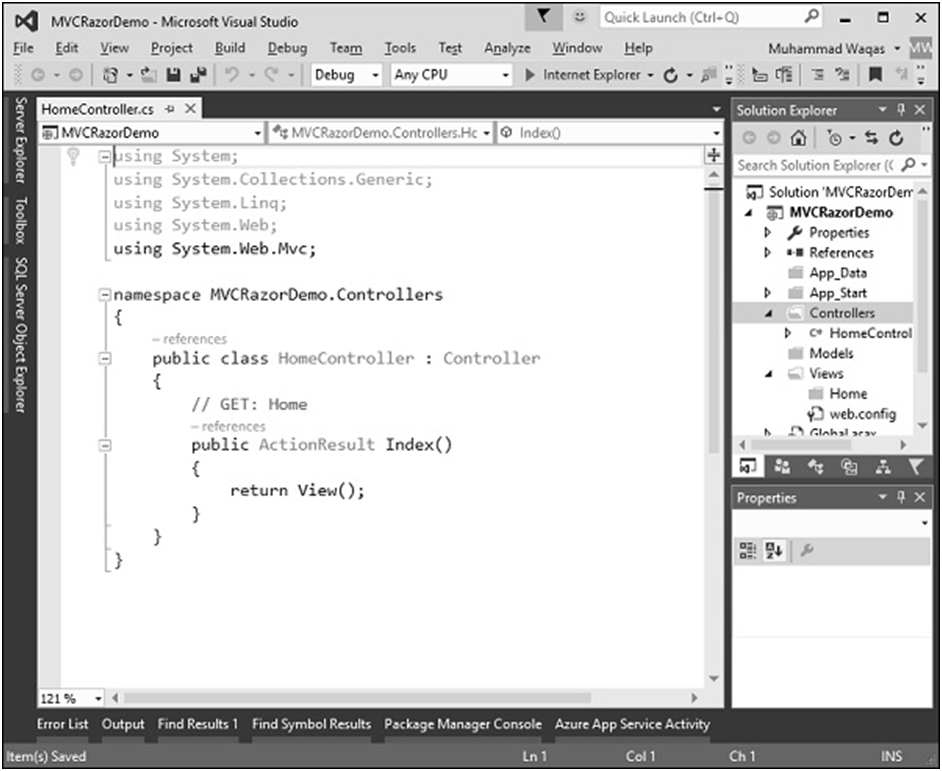
Set the name to HomeController and click ‘Add’ button. You will see a new C# file ‘HomeController.cs’ in the Controllers folder, which is open for editing in Visual Studio as well.
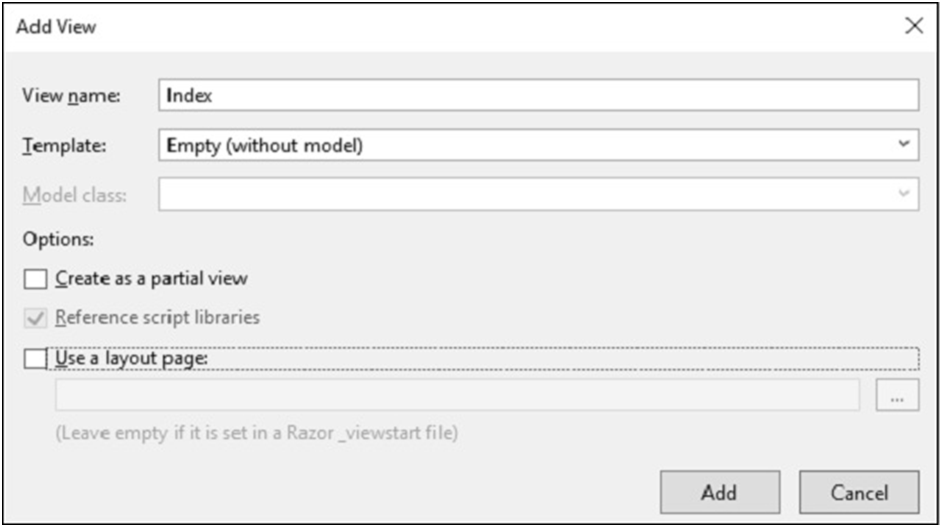
Right-click on the Index action and select Add View…
To keep things simple, select the Empty option and check the MVC checkbox in the ‘Add folders and core references for’ section and click Ok. It will create a basic MVC project with minimal predefined content.
Once the project is created by Visual Studio, you will see a number of files and folders displayed in the Solution Explorer window. As we have created ASP.Net MVC project from an empty project template, so at the moment the application does not contain anything to run. Since we start with an empty application and don’t even have a single controller, let’s add a HomeController.
To add a controller right-click on the controller folder in the solution explorer and select Add → Controller. It will display the Add Scaffold dialog.
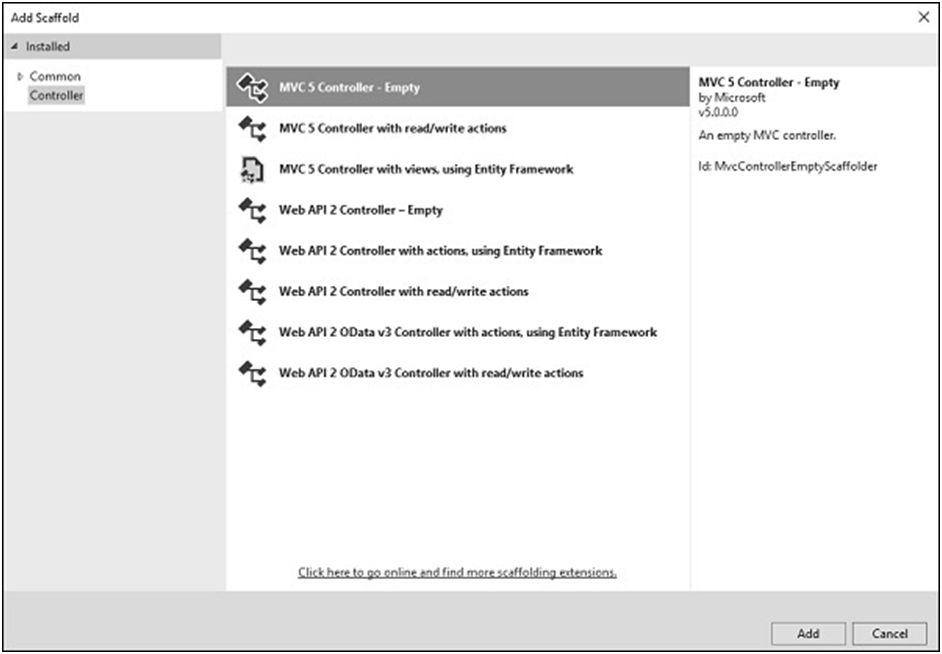
Select Empty from the Template dropdown and click Add button. Visual Studio will create an Index.cshtml file inside the View/Home folder.
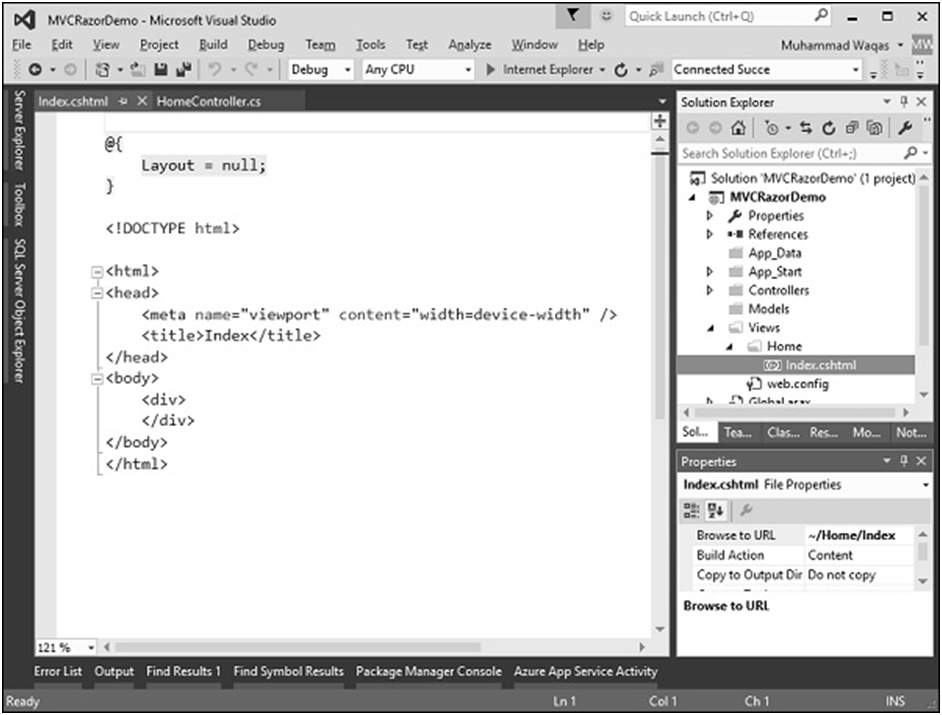
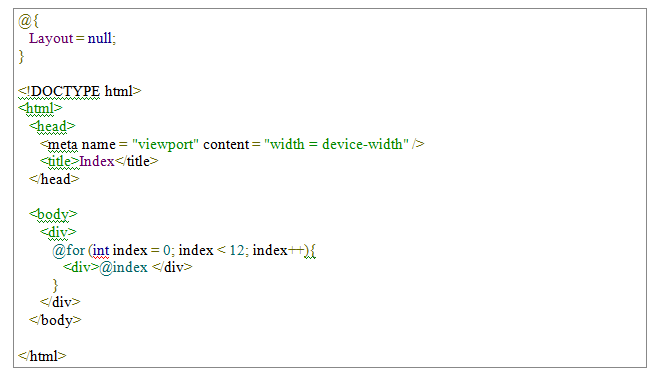
Notice that Razor view has a cshtml extension. If you’re building your MVC application using Visual Basic it will be a VBHTML extension. At the top of this file is a code block that is explicitly setting this Layout property to null.
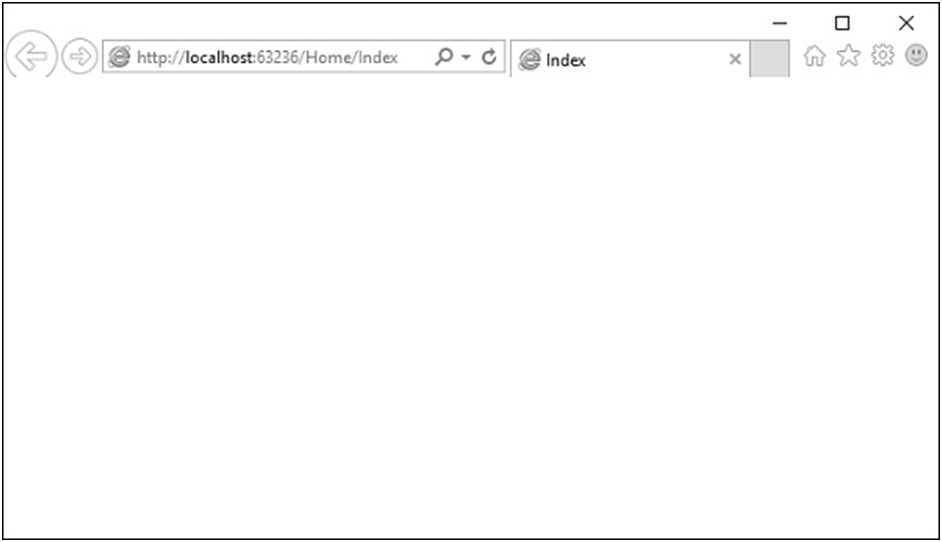
When you run this application you will see the blank webpage because we have created a View from an Empty template.
Let’s add some C# code to make things more interesting. To write some C# code inside a Razor view, the first thing we will do is type the ‘@’ symbol that tells the parser that it is going to be doing something in code.
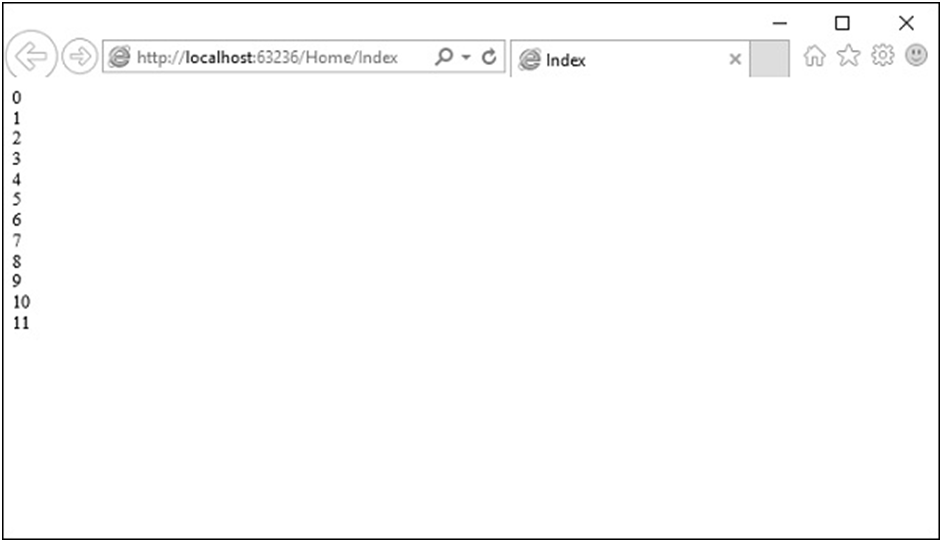
Let’s create a FOR loop specify ‘@i’ inside the curly braces, which is essentially telling Razor to put the value of i.
Run this application and you will see the following output
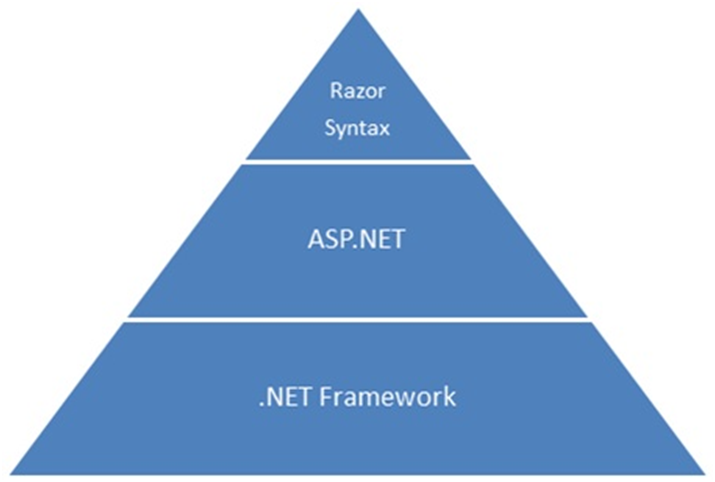
Razor Syntax,.NET Framework and ASP.NET:
The Razor syntax gives you all the power of ASP.NET, but using a simplified syntax that’s easier to learn if you’re a beginner and that makes you more productive if you’re an expert. Even though this syntax is simple to use, its family relationship to ASP.NET and the .NET Framework means that as your websites become more sophisticated, you have the power of the larger frameworks available to you.
IF YOU FIND MY BLOG USEFUL COMMENT & SHARE.
THANK YOU!