Introduction to Blazor
Are you tired of writing web applications in JavaScript? Are you a .NET developer looking for a way to create web applications using C#?
Look now further than Blazor! What it is ? and why so popular!
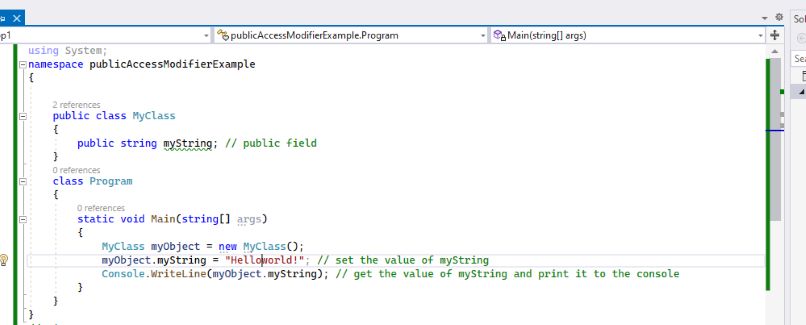
Blazor is a UI framework, it allows developers to design and develop interactive rich UI components with C#, HTML, CSS, plus it is open source and free. So technically now you can create web pages directly in C# instead of JavaScript.
Blazor web application is nothing but a collection of web pagesor to be precise razor pages, then each razor page will host bunch of blazor components and get this, this blazor web application could run on both server or on client. Isn’t that cool?
In traditional architecture, server is designed with high level languages such as Java, C# and client is dominated by dynamic programming language such as javascript, now with blazor you can design both your server and client application in C#.
ASP.NET Core Blazor Hosting Models (Blazor WebAssembly and Blazor Server)
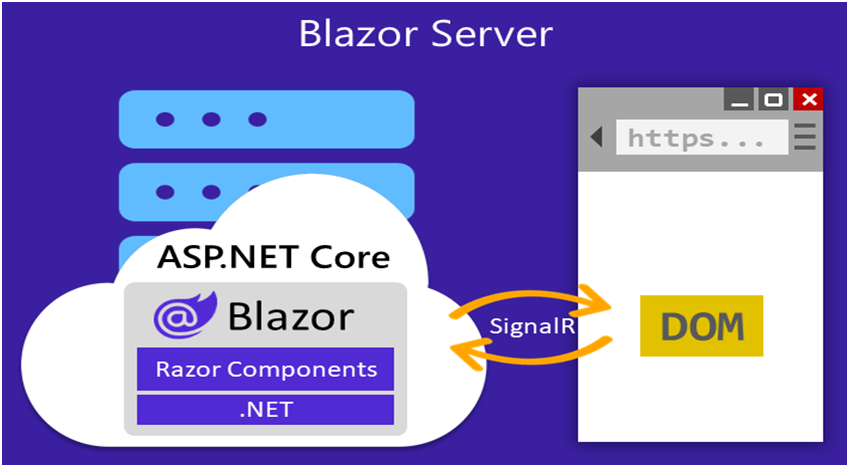
What is Blazor Server(Server side hosting model)?
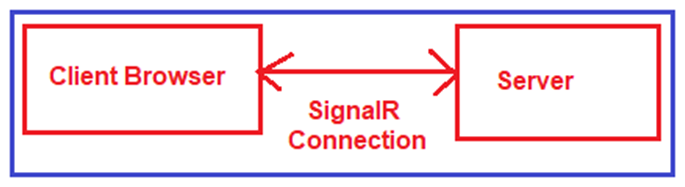
With Blazor Server Hosting Model, the Blazor applications run on the server and the user interacts with the server through a SignalR connection. With SignalR we handle real-time communication that means with SignalR the client does not need to download the .NET Runtime, simply interact with the application remotely. As we don’t download the .NET Runtime in Blazor Server App to run the application, which makes the application serves on the server-side load faster for the user.
- You might have played online games, those games run on a client machine or on a client browser but the data is coming from the server. So if you kill 3 enemies the counter is stored on the server, the moment you kill the 4th enemy counter increases to 4, that communication between server and client is so fast the user can hardly notice any lag. And this is enabled by SignalR in the blazor server app. So for every user interaction on browser signalR sends UI components and data from server to browser and then browser simply renders those changes.
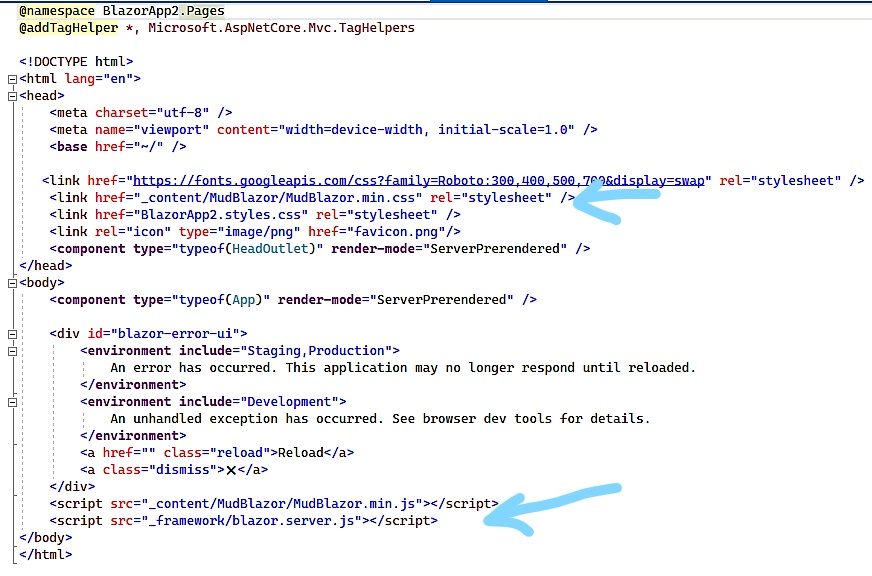
In Blazor server app, UI components (razor components) are stored on the server. Every UI updates, event calls are handled by SignalR which sends the updated data/component to the browser on demand. In order to run app smoothly browser need to have consistent connection with server. The browser has script, blazor.server.js which establishes the SignalR connection with the server.
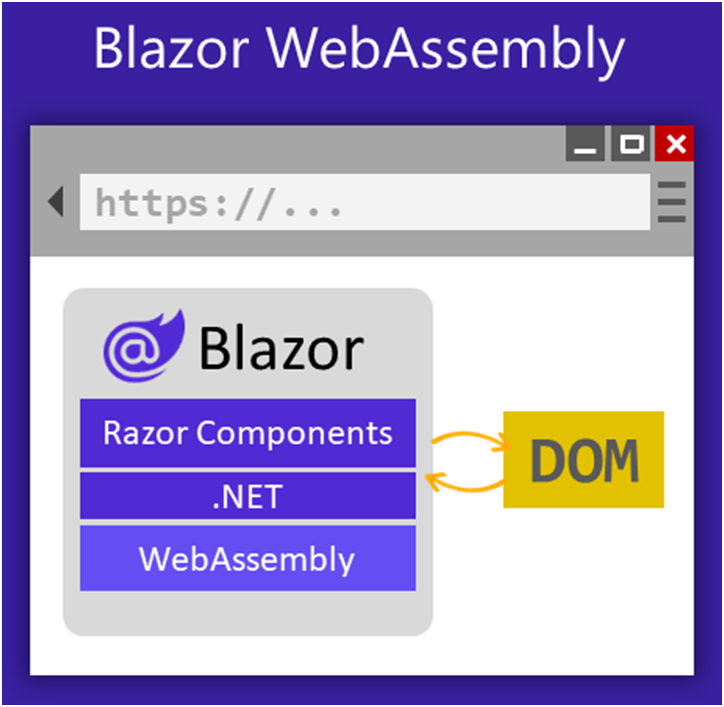
Blazor Web assembly(client side hosting model)?
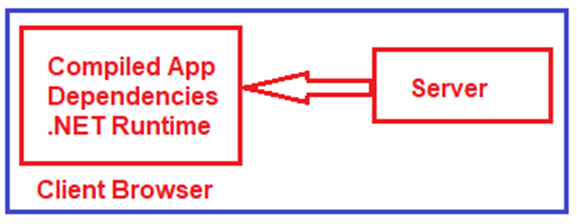
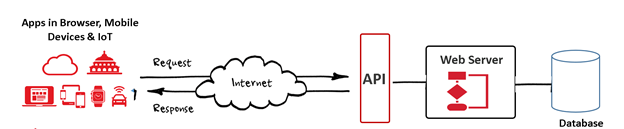
In Blazor WebAssembly Hosting Model, the application directly runs in the browser with the help of WebAssembly. So, the things which are required to run a .Net application such as the compiled application code, its dependencies, and the most important .NET runtime are downloaded to the client browser by WebAssembly from the server as shown in the below image.
- Can work offline: As there is no server dependency, the client can work without being dependent on the server. so it doesn’t matter if you lose the connection with the server.
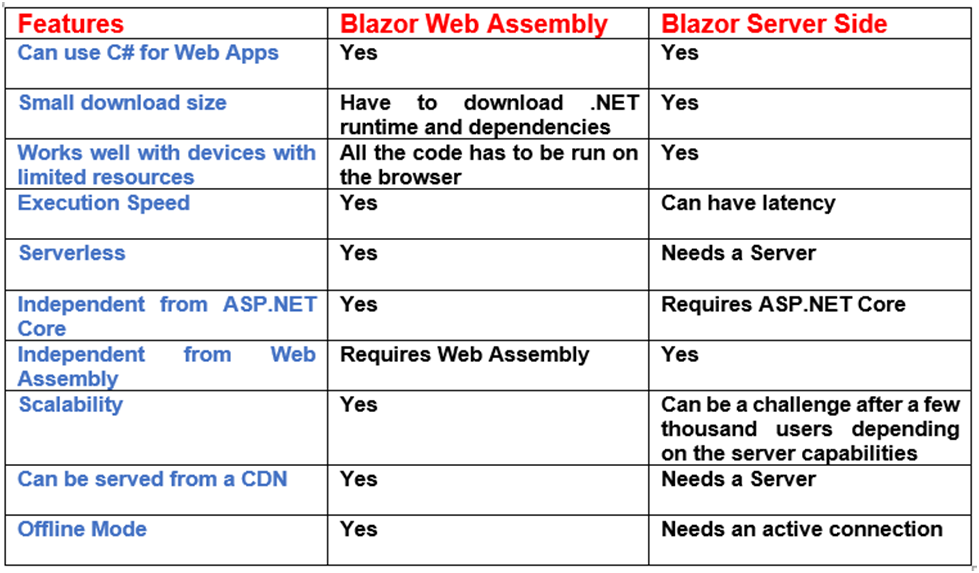
- If you want an application that is supported by search engines, or has server-side support within the application, Blazor Server is your choice.
But, if you want an arguably quicker application that works offline, then you will be looking at Blazor WebAssembly.
Build your first Blazor app
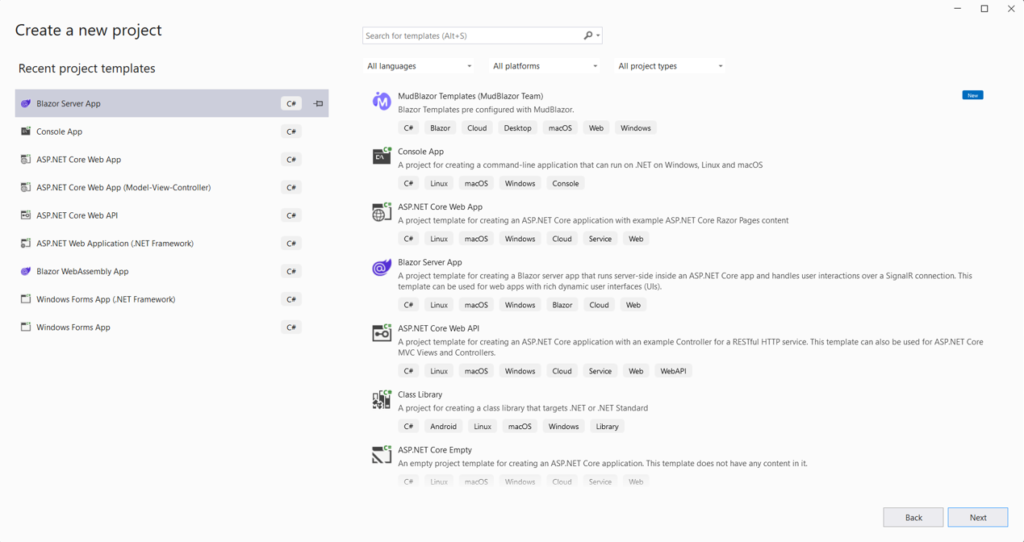
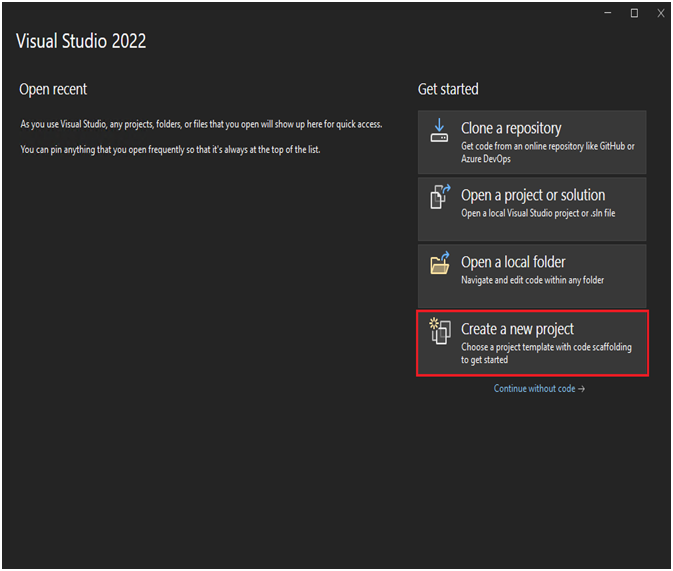
- Start Visual Studio and select Create a new project.
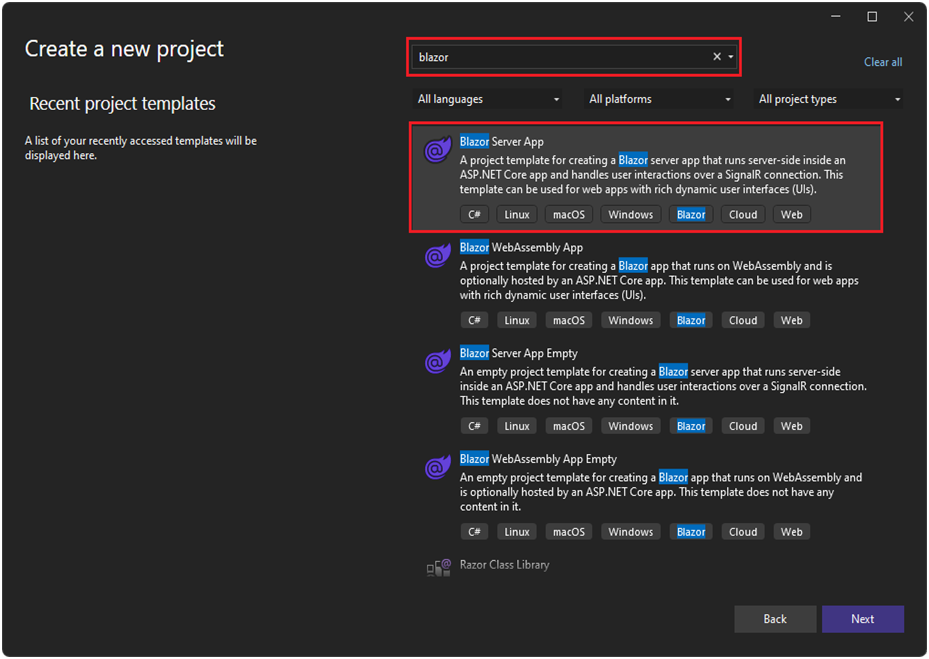
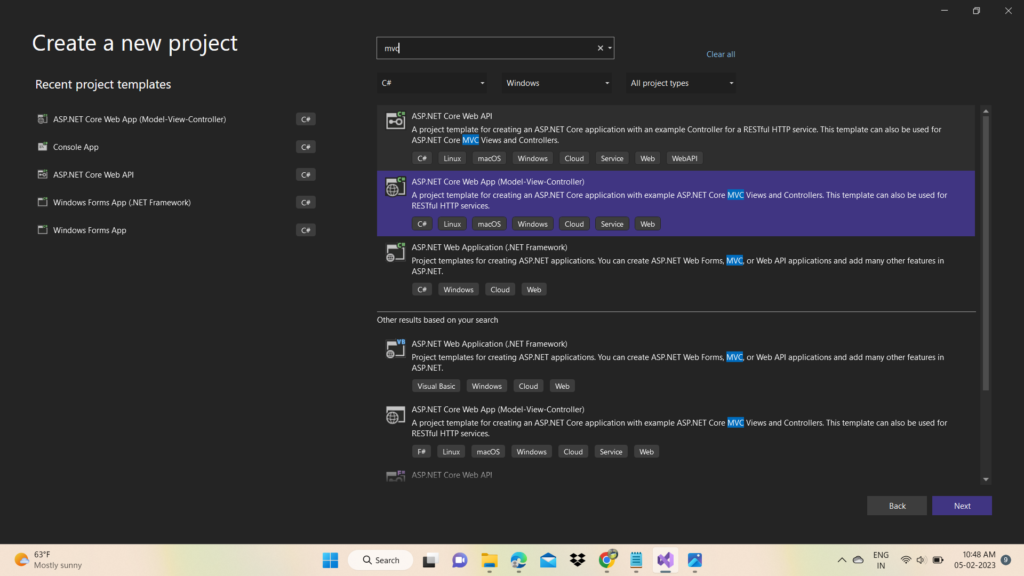
2. In the Create a new project window, type Blazor on the search box and hit Enter.
3. Select the Blazor Server App template and select Next.
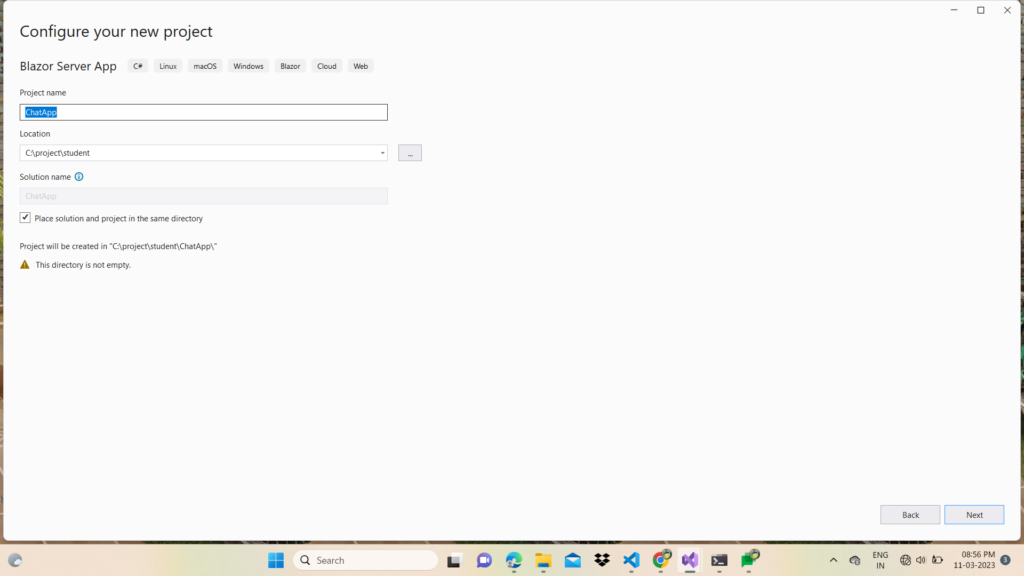
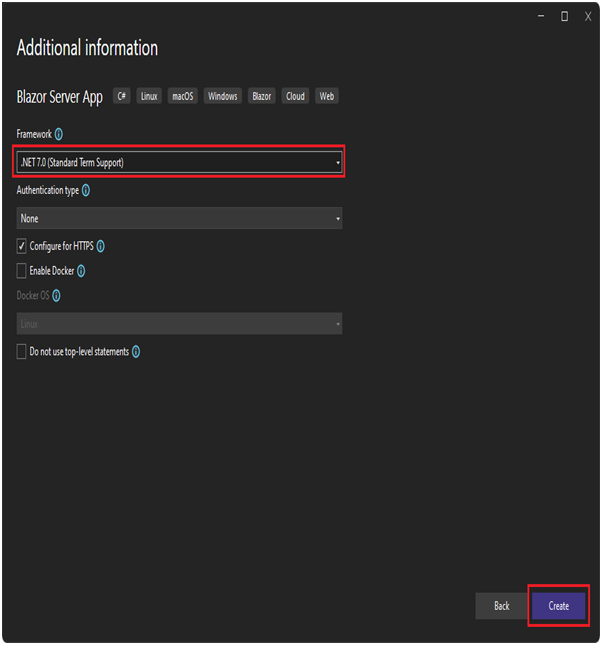
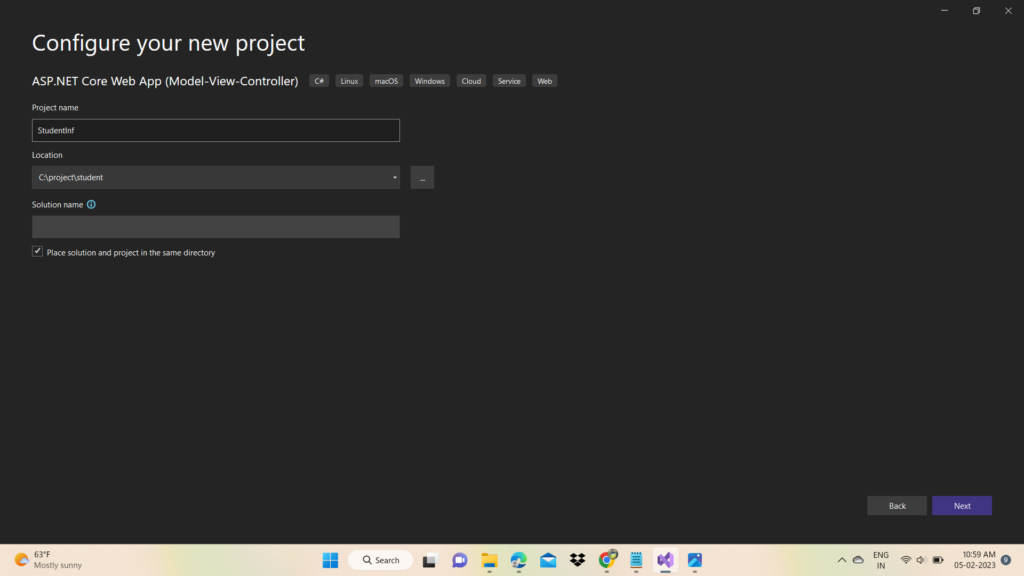
3. In the Configure your new project window, enter BlazorApp as the project name and select Next.
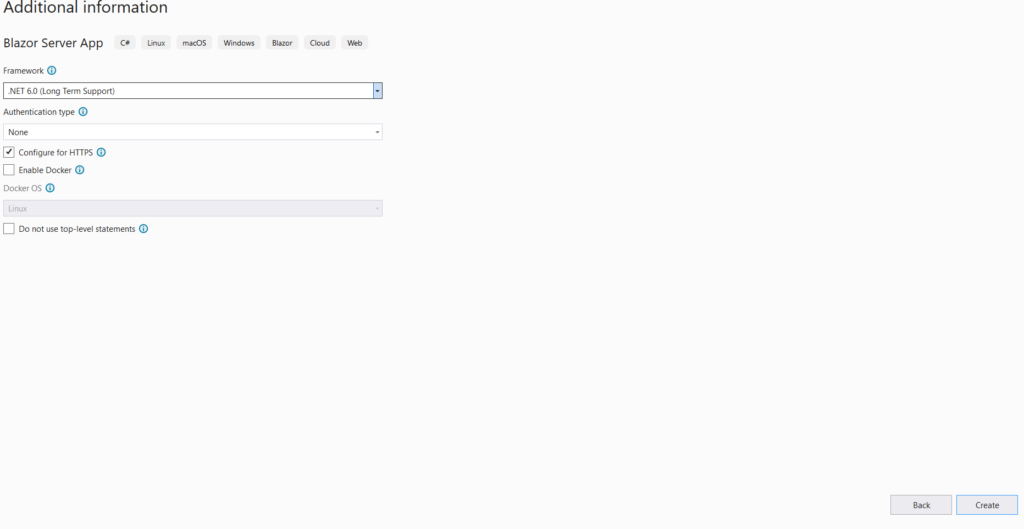
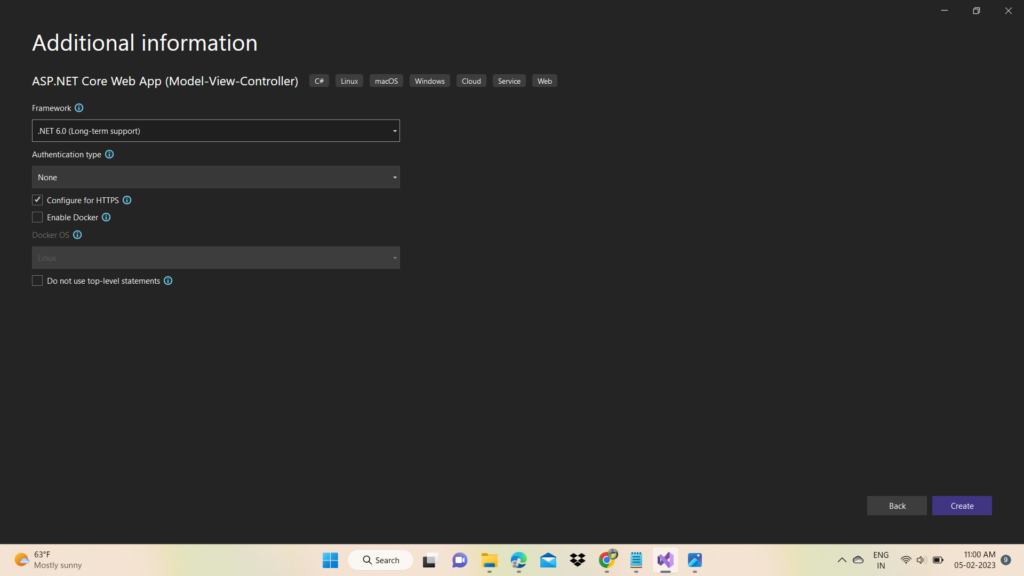
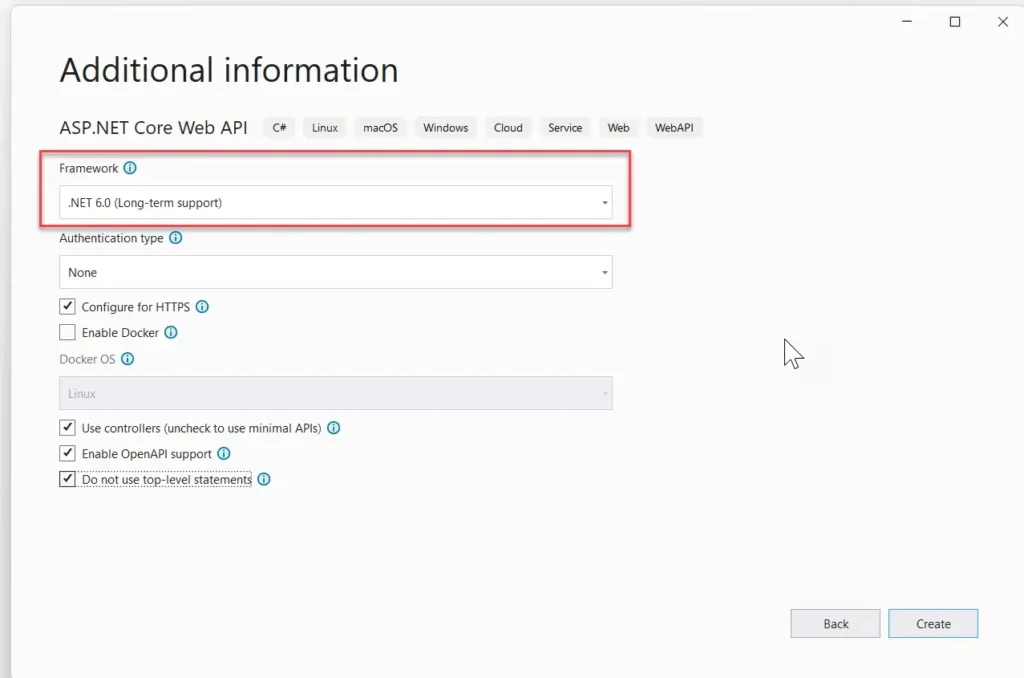
4.In the Additional information window, select .NET 7.0 (Standard Term Support) in the Framework drop-down if not already selected and click the Create button.
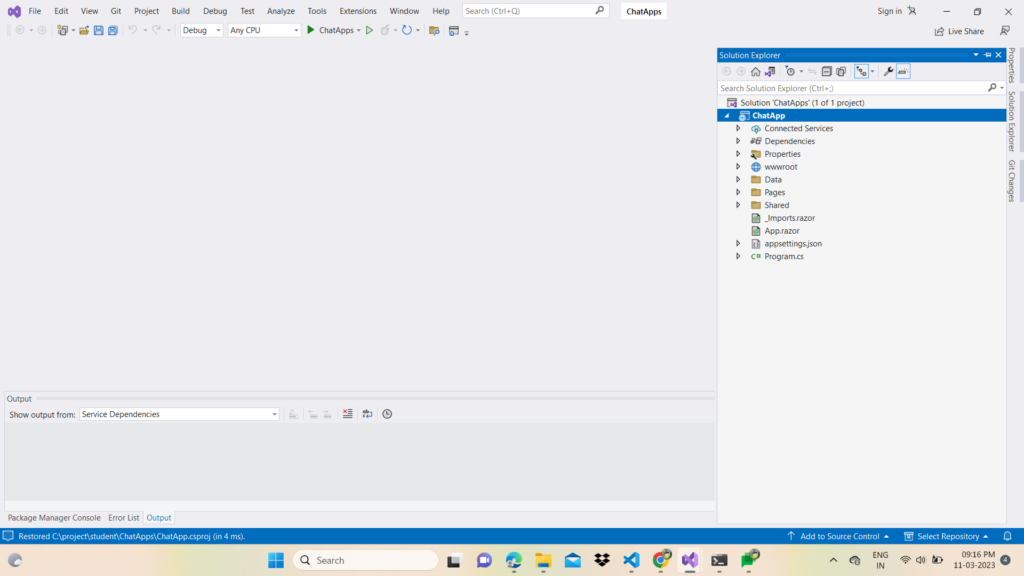
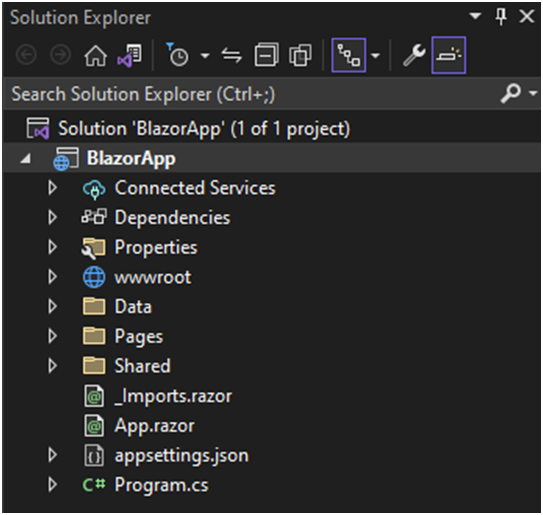
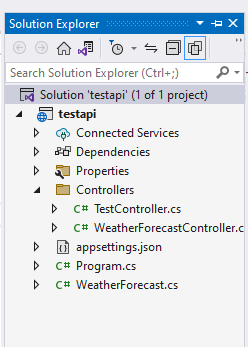
Your project is created and loaded in Visual Studio. Take a look at the contents of your project using Solution Explorer.
Several files were created to give you a simple Blazor app that is ready to run.
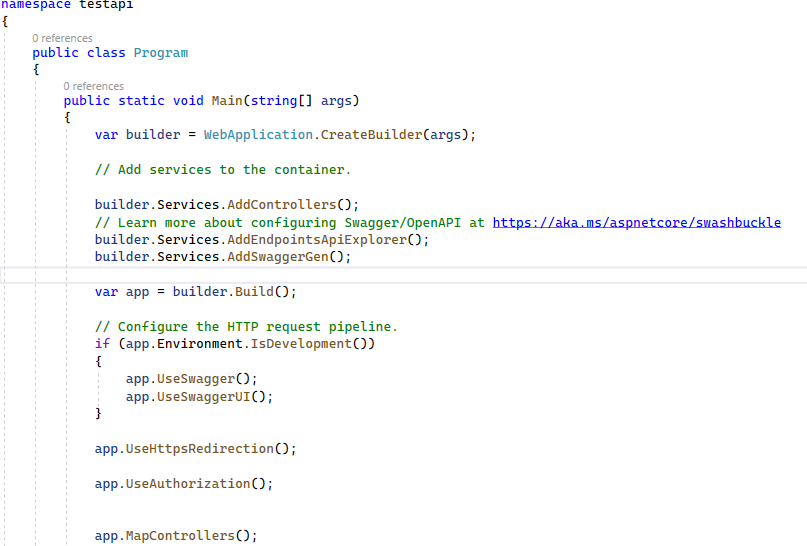
- Program.cs is the entry point for the app that starts the server and where you configure the app services and middleware.
- App.razor is the root component for the app.
- The Pages directory contains some example web pages for the app.
This folder contains the _Host razor page and the routable components that make up the Blazor app. The components have the .razor extension.
- Index component (Index.razor) – Rendered when we navigate to the root application URL.
- Counter component (Counter.razor) – Rendered when we navigate to the path /counter.
- FetchData component (FetchData.razor) – Rendered when we navigate to the path /fetchdata.
- Error component (Error.razor) – Rendered when an unhandled exception occurs in the blazor app.
- BlazorApp.csproj defines the app project and its dependencies and can be viewed by double-clicking the BlazorApp project node in the Solution Explorer.
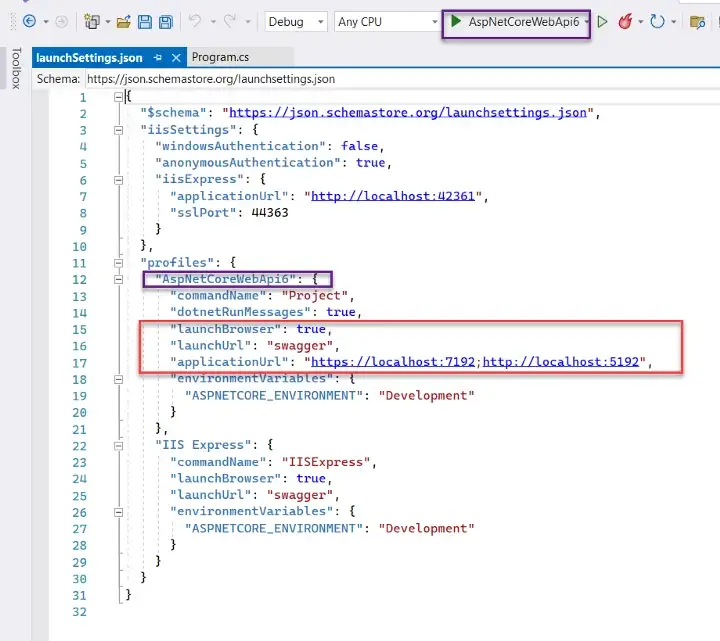
- The launchSettings.json file inside the Properties directory defines different profile settings for the local development environment. A port number is automatically assigned at project creation and saved on this file.
MainLayout component (MainLayout.razor)
The application’s main layout component
NavMenu component (NavMenu.razor)
Implements the navigation menu on the sidebar. The NavLink component renders navigation links to other Razor components like the index, counter, and fetchdata components. This NavLink component is intelligent enough to highlight the navigation menu item if its component is currently displayed.
_Imports.razor
This is like _ViewImports.cshtml file in an asp.net core MVC project. This file contains the common namespaces so we do not have to include them in every razor component.
The data folder (Blazor Server)
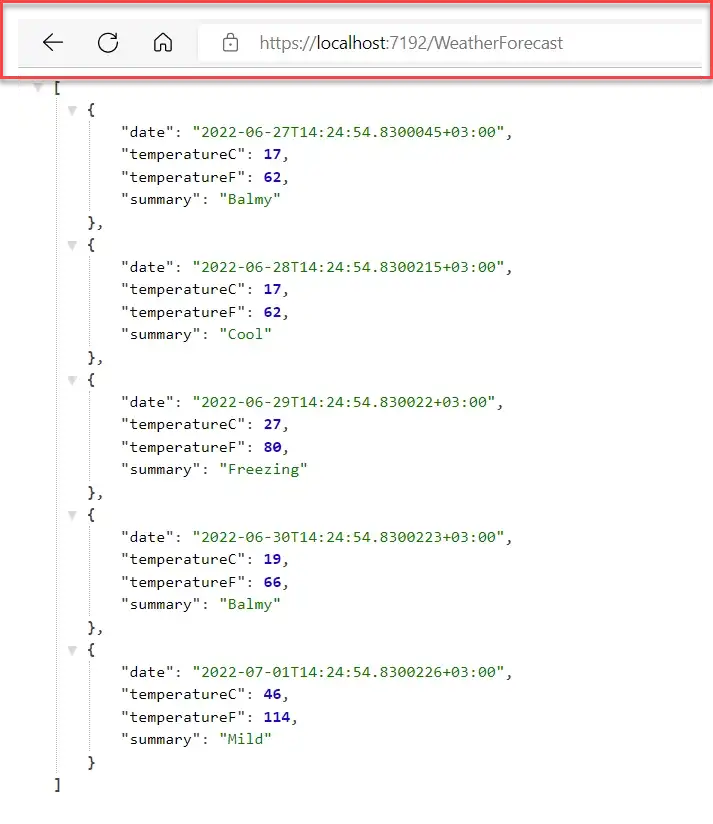
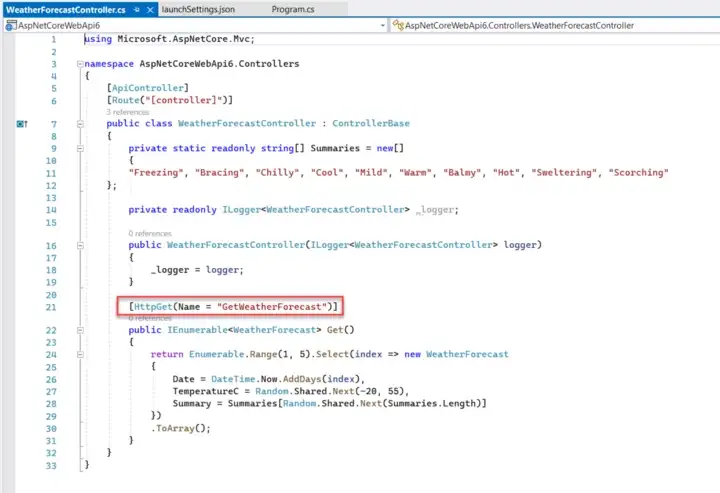
Contains code files related to the sample WeatherForecast service
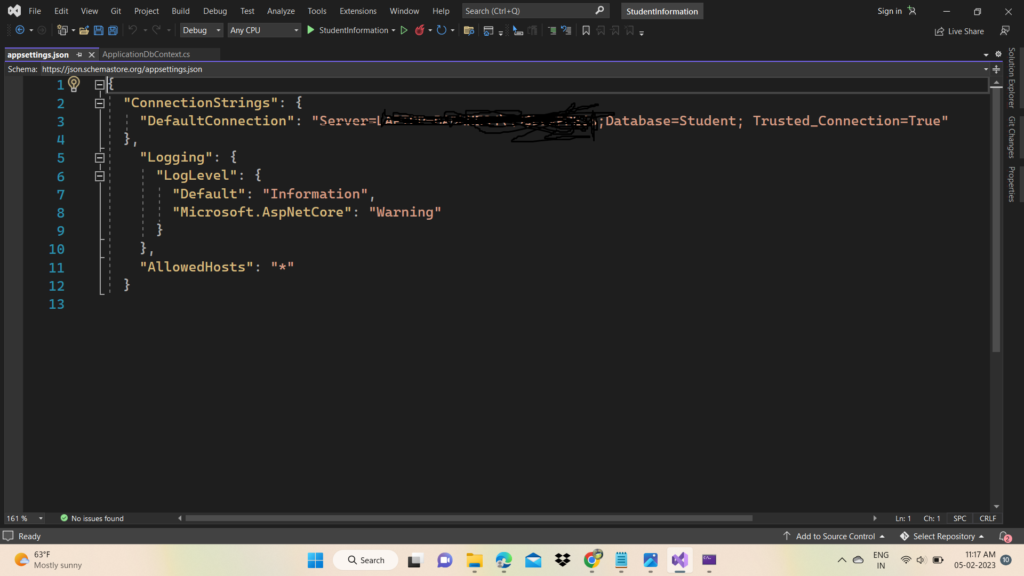
appsettings.json (Blazor Server)
Just like an asp.net core MVC project, a Blazor project also uses this file to store the configuration settings.
Run your app
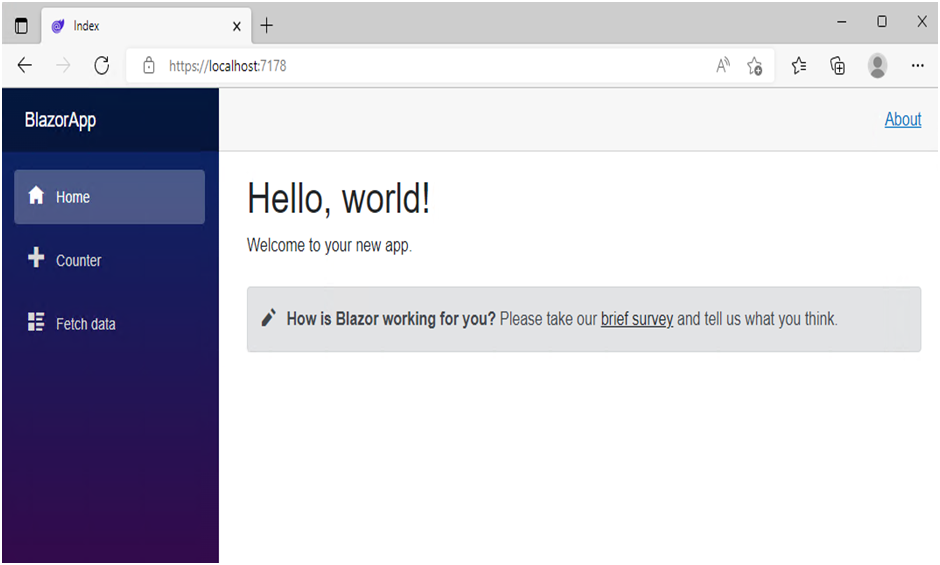
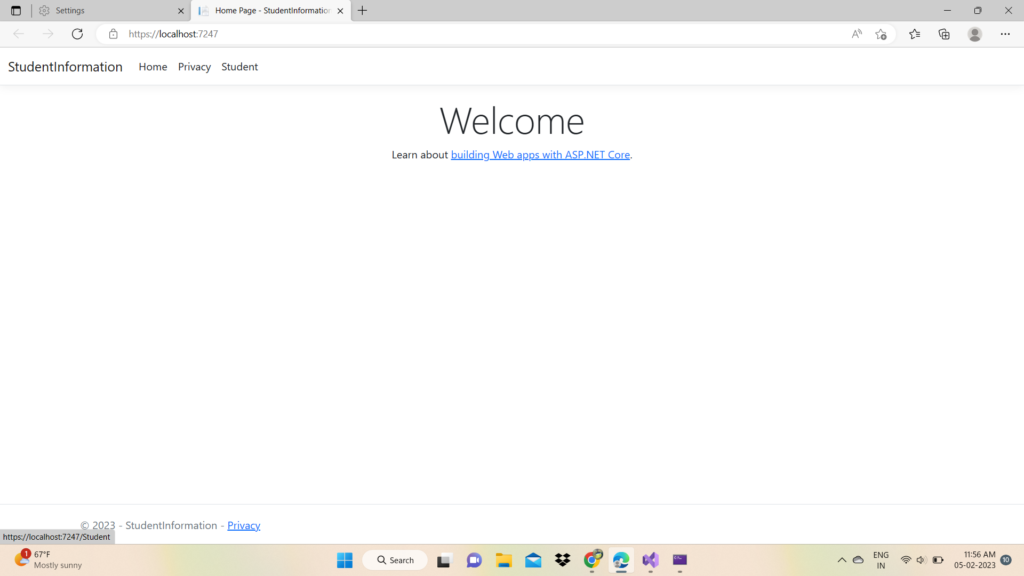
Click on the Start Debugging button (green arrow) in the Debug Toolbar in Visual Studio to run your app. Wait for the app to launch in the browser. Once you get to the following page, you have successfully run your first Blazor app.
The displayed page is defined by the Index.razor file located inside the Pages directory. This is what its contents look like:
Pages/Index.razor

@page "/"

<PageTitle>Index</PageTitle>

<h1>Hello, world!</h1>

Welcome to your new app.

<SurveyPrompt Title="How is Blazor working for you?" />
It already contains the code that sets it as the homepage and displays the text Hello, world! and Welcome to your new app. It also includes a SurveyPrompt component that renders a link to the Blazor feedback survey.
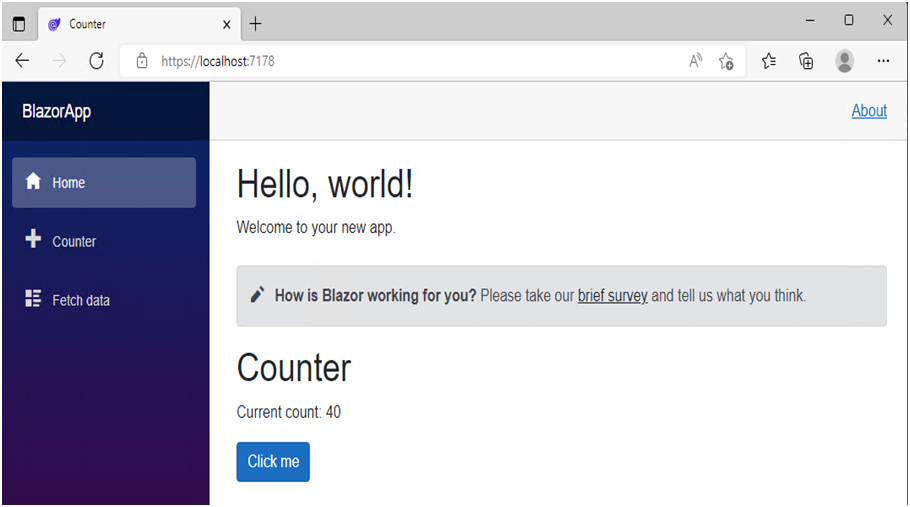
Try the counter
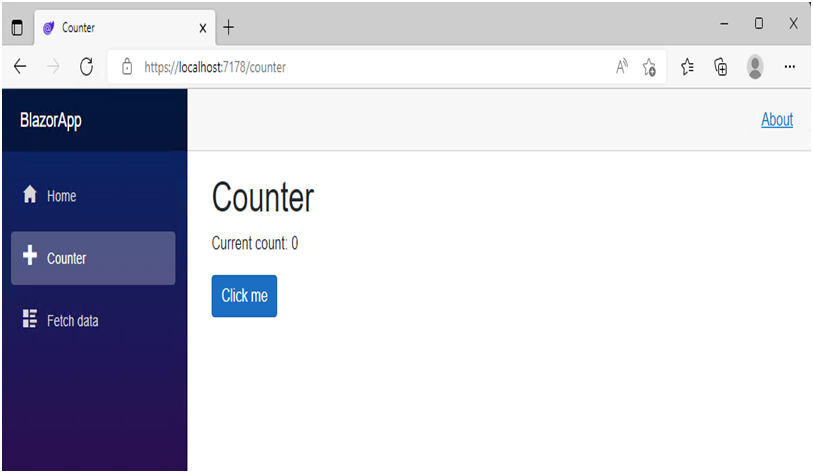
In the running app, navigate to the Counter page by clicking the Counter tab in the sidebar on the left. The following page should then be displayed:
Select the Click me button to increment the count without a page refresh. Incrementing a counter in a webpage normally requires writing JavaScript, but with Blazor you can use C#.
You can find the implementation of the Counter component at Counter.razor file located inside the Pages directory.
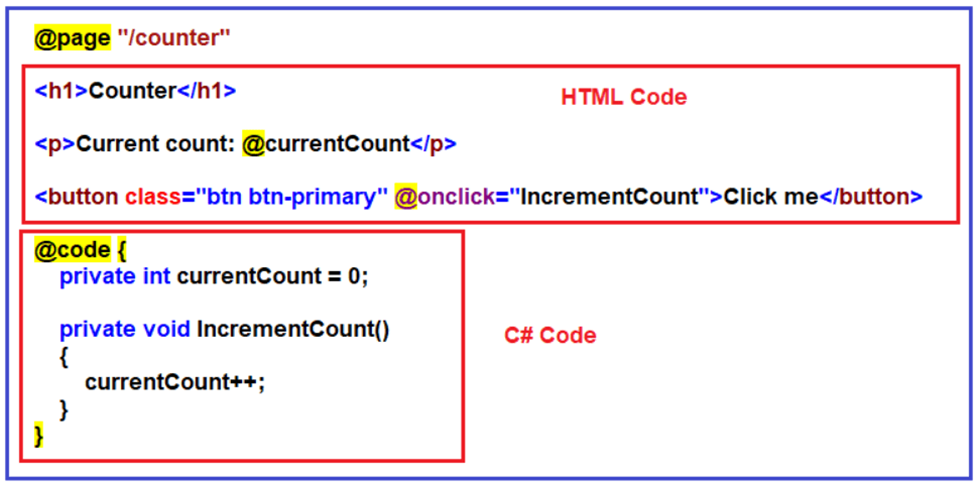
Pages/Counter.razorCopy

@page "/counter"

<PageTitle>Counter</PageTitle>

<h1>Counter</h1>

<p role="status">Current count: @currentCount</p>

<button class="btn btn-primary" @onclick="IncrementCount">Click me</button>

@code {

    private int currentCount = 0;

    private void IncrementCount()

    {

        currentCount++;

    }

}
A request for /counter in the browser, as specified by the @page directive at the top, causes the Counter component to render its content.
Each time the Click me button is selected:
- The onclick event is fired.
- The IncrementCount method is called.
- The currentCount is incremented.
- The component is rendered to show the updated count.
Add a component
Razor component is a combination of two things i.e. HTML code and C# code. For example, please have a look at the following Counter.razor file i.e. the Counter Component.
Each of the .razor files defines a UI component that can be reused.
Open the Index.razor file in Visual Studio. The Index.razor file already exists, and it was created when you created the project. It’s located in the Pages folder inside the BlazorApp directory that was created earlier.
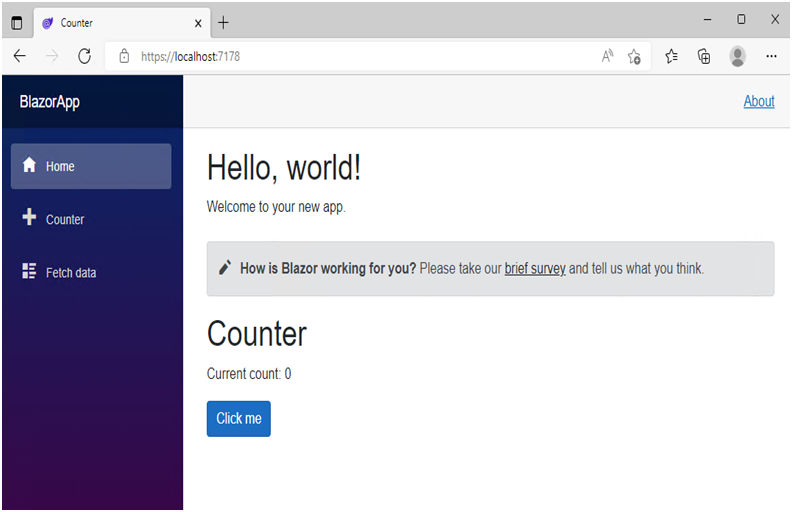
Add a Counter component to the app’s homepage by adding a <Counter /> element at the end of the Index.razor file.
Pages/Index.razorCopy

@page "/"

<PageTitle>Index</PageTitle>

<h1>Hello, world!</h1>

Welcome to your new app.

<SurveyPrompt Title="How is Blazor working for you?" />

<Counter />
Click the Hot Reload button to apply the change to the running app. The Counter component will then show up on the home page.
Modify a component
Component parameters are specified using attributes or child content, which allow you to set properties on the child component. Define a parameter on the Counter component for specifying how much it increments with every button click:
- Add a public property for IncrementAmount with a [Parameter] attribute.
- Change the IncrementCount method to use the IncrementAmount when incrementing the value of currentCount.
The following code shows how to achieve that. The highlighted lines show the changes.
Pages/Counter.razorCopy

@page "/counter"

<PageTitle>Counter</PageTitle>

<h1>Counter</h1>

<p>Current count: @currentCount</p>

<button class="btn btn-primary" @onclick="IncrementCount">Click me</button>

@code {

    private int currentCount = 0;

    [Parameter]

    public int IncrementAmount { get; set; } = 1;

    private void IncrementCount()

    {

        currentCount += IncrementAmount;

    }

}
In Index.razor, update the <Counter> element to add an IncrementAmount attribute that changes the increment amount to ten as shown by the highlighted line in the following code:
Pages/Index.razorCopy

@page "/"

<h1>Hello, world!</h1>

Welcome to your new app.

<SurveyPrompt Title="How is Blazor working for you?" />

<Counter IncrementAmount="10" />
Apply the change to the app by clicking the Hot Reload button. The Index component now has its own counter that increments by ten each time the Click me button is selected, as shown in the following image. The Counter component (Counter.razor) at /counter continues to increment by one.