Web 3.0, also known as the third-generation internet, is the next evolution of the World Wide Web. It provides a data-driven Semantic Web employing a machine-based understanding of data with the objective of developing a more intelligent and connected web experience for users.
The Web of today is static and unable to adjust to the individual needs of each person experiencing it. Web 3.0 promises to be more dynamic and interactive. By implementing artificial intelligence and blockchain technology, it will redefine the web experience with structural changes to ensure democratization across all aspects of the internet.
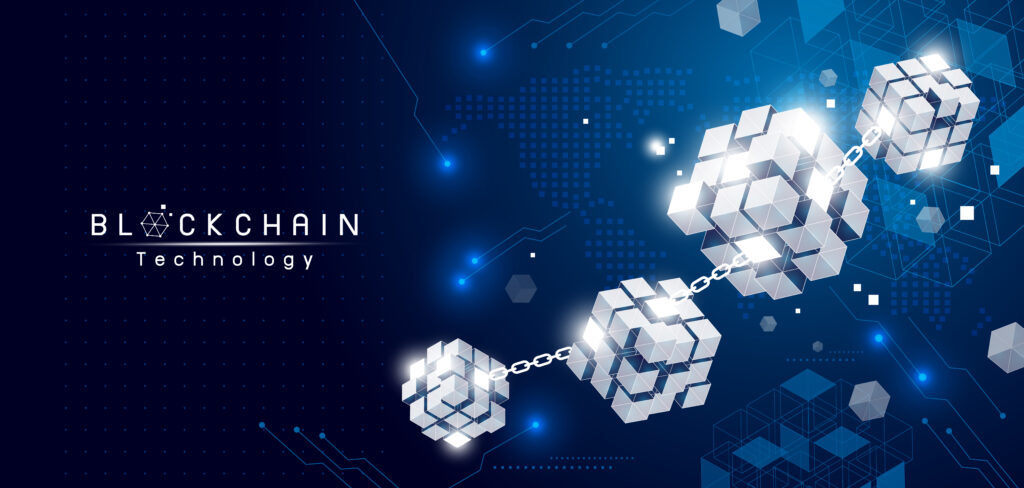
In Web 3.0, data is stored securely and distributed across many devices, removing the need for centralized servers. Such a design also reduces the risks of massive data leaks because data is no longer centrally stored — making it more resilient to compromise.
Evolution of Web – 1.0, 2.0, and 3.0
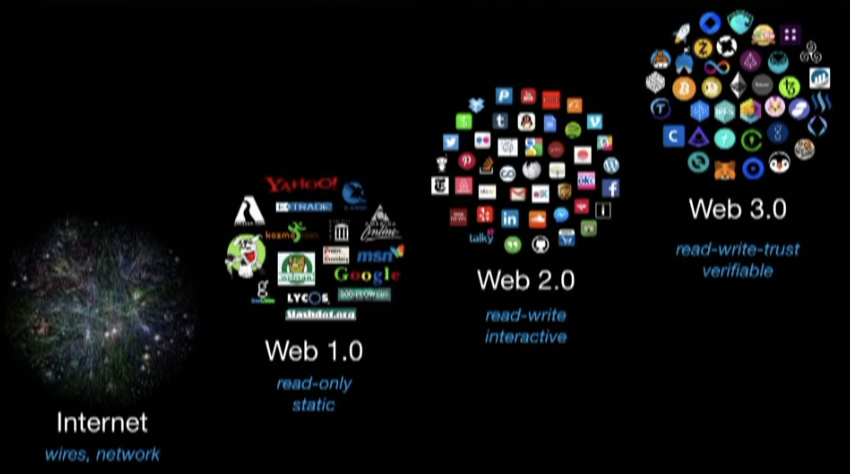
Web 1.0: Static, Read-Only
This first version of the internet is acknowledged as the first stage of the world wide web evolution. It is characterized as a read-only web experience. Users can read information on web pages driven by web browsers, HTML, HTTP and URL technology. The experience is highly decentralized, and there are no search engines. Instead, Web 1.0 content is static and hyperlinked together. Web 1.0 is also referred to as the Syntactic Web, and the user’s role is limited.
Web 2.0: Read-Write
As the second generation of the world wide web, Web 2.0 is known as the read-write Web or the social Web because it facilitates interaction between users and sites. Driven by mobile, social networks and cloud technology, Web 2.0 users can read and write content on websites and applications and distribute it between sites.
A small group of big tech companies like Meta (previously Facebook), YouTube and Twitter own most of the user data associated with Web 2.0. The data is highly centralized with these tech giants. This centralization of data (and power) and monetization of users is spurring the need for Web 3.0.
Web 3.0 Read-Write-Interact-Web
Web 3.0 is highly decentralized, driven by machine learning and artificial intelligence, and leverages blockchain technology. The result is real-world human communication. Users retain control over their data and content, and they can sell or trade their data without losing ownership, risking privacy or relying on intermediaries. In this business model, users can log into a website without having their internet identity tracked.
The term Web 3.0, coined by reporter John Markoff of The New York Times in 2006, refers to a new evolution of the Web which includes specific innovations and practices.
Features of Web3.0
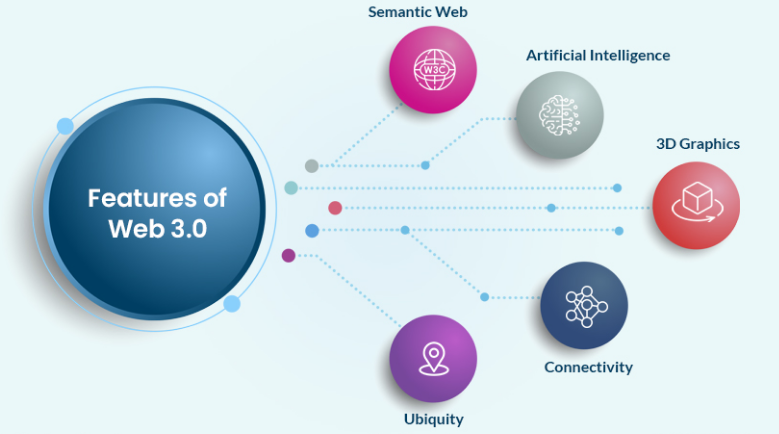
- Semantic Web: The next evolution of the Web involves the Semantic Web. The Semantic Web improves the abilities of web technologies to generate, share and connect content through search and analysis by understanding the meaning of words rather than by keywords or numbers.
- Artificial Intelligence: By combining semantic capabilities with natural language processing, computers can understand information on a human-like level to provide faster and more relevant results
- 3D Graphics: Three-dimensional design is used extensively in websites and services in Web 3.0. Museum guides, computer games, eCommerce, geospatial contexts and more are all common examples of this.
- Connectivity: With Web 3.0, information is more connected thanks to semantic metadata. As a result, the user experience evolves into a new level of connectivity that leverages all available information.
- Ubiquity: Internet content and services can be accessed anywhere at any time via any number of devices, rather than exclusively via computers and smartphones. Web 2.0 is already ubiquitous in many ways, but the growth of IoT devices will take it to new levels.
- Blockchain: With blockchain technology, user data is protected and encrypted. This prevents large companies from controlling and/or using users’ personal data for their gain.
- Decentralized: Decentralized data networks store data within a peer-to-peer interconnection. Users maintain ownership over their data and digital assets and are able to log in securely over the internet without being tracked.
Examples of Web3 applications
- Ethereum. Perhaps the best-known Web3 protocol, this decentralized platform supports a native cryptocurrency plus a vast ecosystem of decentralized apps. The Ethereum platform hosts most of the Web3 apps that exist today.
- Brave. Brave is a Web3-based browser that enables users to directly monetize their content consumption and creation. Users are rewarded for viewing ads and can be compensated directly for producing original content.
- Uniswap. This Ethereum-based protocol supports a decentralized exchange that aims to be a Web3 version of today’s stock and commodity exchanges. Governance of the Uniswap protocol is also decentralized, with full control distributed among UNI tokenholders.
- Aave. This Web3 lending and borrowing platform enables users to earn interest on deposits, plus borrow assets without requiring approval from centralized intermediaries.
- RealT. Real estate investors may be interested in RealT, a Web3 app that aims to tokenize real estate. RealT allows investors to earn rental income from fractional ownership shares in properties.
- Set protocol. Internet users can access the Set protocol to automate investing and rebalancing of crypto assets. The protocol uses Web3 tech to enable investors to predefine their investing rules and strategies. Perhaps, one day, the protocol could move from crypto assets to traditional asset classes.
- Nexus Mutual. Web3 technology can support decentralized insurance platforms, and Nexus Mutual is exactly that. The platform is focused on insuring crypto holdings and covering smart contract failures.
- InstaDApp. This Web3 banking portal aims to simplify access to multiple decentralized finance (DeFi) protocols. The dApp features portfolio management and debt refinancing tools.